To white out text in a PDF on a Mac, open it in Preview, show the Markup toolbar, choose a rectangle from Shapes, set its fill and border to white, and drag it over the words. That hides them on screen and on paper, but the words stay in the file underneath, where a search finds them. “White out” can mean three different jobs, and they leave three different files. Covering text puts a white box on top of it; the words are still in the file underneath. Deleting text from the page removes the line from what the page draws; the same words can still sit elsewhere in the file. Redacting is what a redaction tool does to remove content and, depending on the tool, the hidden copies of it. On a Mac, Preview covers and redacts, and PDF Textfix deletes or replaces a line of your own document. Pick the method by why you are removing the words.
| What you want | Method on a Mac | What stays in the file |
|---|---|---|
| Hide words on a printout or a screen | A white shape in Preview | The words, under the shape |
| Remove a wrong line from your own document | Empty or replace the line in PDF Textfix | Copies elsewhere in the file (links, bookmarks, properties, comments, form fields, accessibility text, images) and the fonts’ glyph shapes; see Step 4 |
| Remove confidential content before you share | A redaction tool | Whatever that tool’s own rules leave; check it |
Step 1: How do I cover text with a white box in Preview?
- Open the PDF in Preview and show the Markup toolbar.
- Choose a rectangle from Shapes. Apple’s guide: “Click a shape, then drag it where you want.”
- Set Fill Color to white, which Apple describes as the way to “Change the color that’s used inside a shape.”, and set the border to white as well.
- Drag the box over the words and save.
That is all a cover is: a shape, stored as an annotation on top of the page. Preview’s Annotations inspector lists it among the “annotations made to a PDF”, and anyone can select it, move it or delete it. The words underneath are still in the page: a search finds them, and they can be copied out of the file.
Flattening does not prove the words are gone. Apple’s guide explains that “To save a PDF and flatten annotations (so that they can’t be edited), choose File > Print, then select Save as PDF.” The box then becomes part of the page’s drawing. Apple’s guide does not say that the words under it are removed, and they usually stay in the file: search the flattened copy for a word under the box (Step 6) before you rely on it. Use a cover when you only care about what a printout looks like.
Step 2: How do I redact text in Preview?
Preview has a redaction tool in the same toolbar. Apple’s guide for macOS 27 describes Redaction Selection this way: “Select text to remove it from view. You can change the redaction as you edit, but once you close the document, the redaction becomes permanent.” The guide for macOS Tahoe 26 words it “Select text to permanently remove it from view.”
- Keep a copy of the original first: once you close the document, the redaction cannot be undone.
- Show the Markup toolbar and choose Redaction Selection.
- Drag across the words to redact, save the file and close it.
Apple’s guide for macOS 27 adds a limit worth knowing: “If the PDF has a table of contents, entries in it that link to redacted text aren’t removed.” A bookmark can therefore still carry the words you redacted from the page. The macOS 26 edition does not carry that note; on either version, check the sidebar after you redact.
Dedicated redaction tools go further. Adobe’s help for Acrobat Pro says that when you apply a redaction, a dialog lets you “choose if you want to sanitize and remove hidden information by selecting the toggle button.”
Step 3: How do I delete or replace a line with PDF Textfix?
PDF Textfix edits the text that is already on the page, one line at a time. To take a line out of your own document:
- Open the PDF in PDF Textfix and select the line: click it, or find it with ⌘F.
- Press Return or double-click to open the editor over the line.
- Select the line’s text in the editor and delete it, or type the replacement.
- Press Return to apply the edit.
An emptied line disappears from the page. Its position is kept, so the lines below do not move up: the page keeps a gap where the line was. Before the edit is applied, PDF Textfix checks that every other character on the page stays where it was. A line with a lock, such as the text of a form field or a comment, cannot be edited, and the lock says why. On a scanned page there is no line to empty at all: the words are part of a picture, and only a tool that redacts images, or a new scan, takes them out.
To remove a single word, delete just that word in the editor. If the text after it on the same line should close up, turn on the Shift Rest of Line checkbox in the bar (⌃⌘R); otherwise it stays where it was. Can PDF Textfix delete a line of text? answers the shorter version of this question.
Step 4: What stays in the file after PDF Textfix saves?
Press ⌘S. Save writes the whole file again, without the lines you replaced, and the saved file keeps no earlier version of them. Everything you did not edit is copied as it was, unless the file was damaged; PDF Textfix tells you when it repaired one.
That copy is exactly why this is not redaction. The same words can still be in:
- links and the web or email addresses they open;
- bookmarks and the document’s properties, such as its title and subject;
- comments and form fields;
- the accessibility text a tagged file keeps for its pages;
- images, which are pictures and are never edited;
- the fonts, which keep the shapes of all their characters, including those of the text you removed.
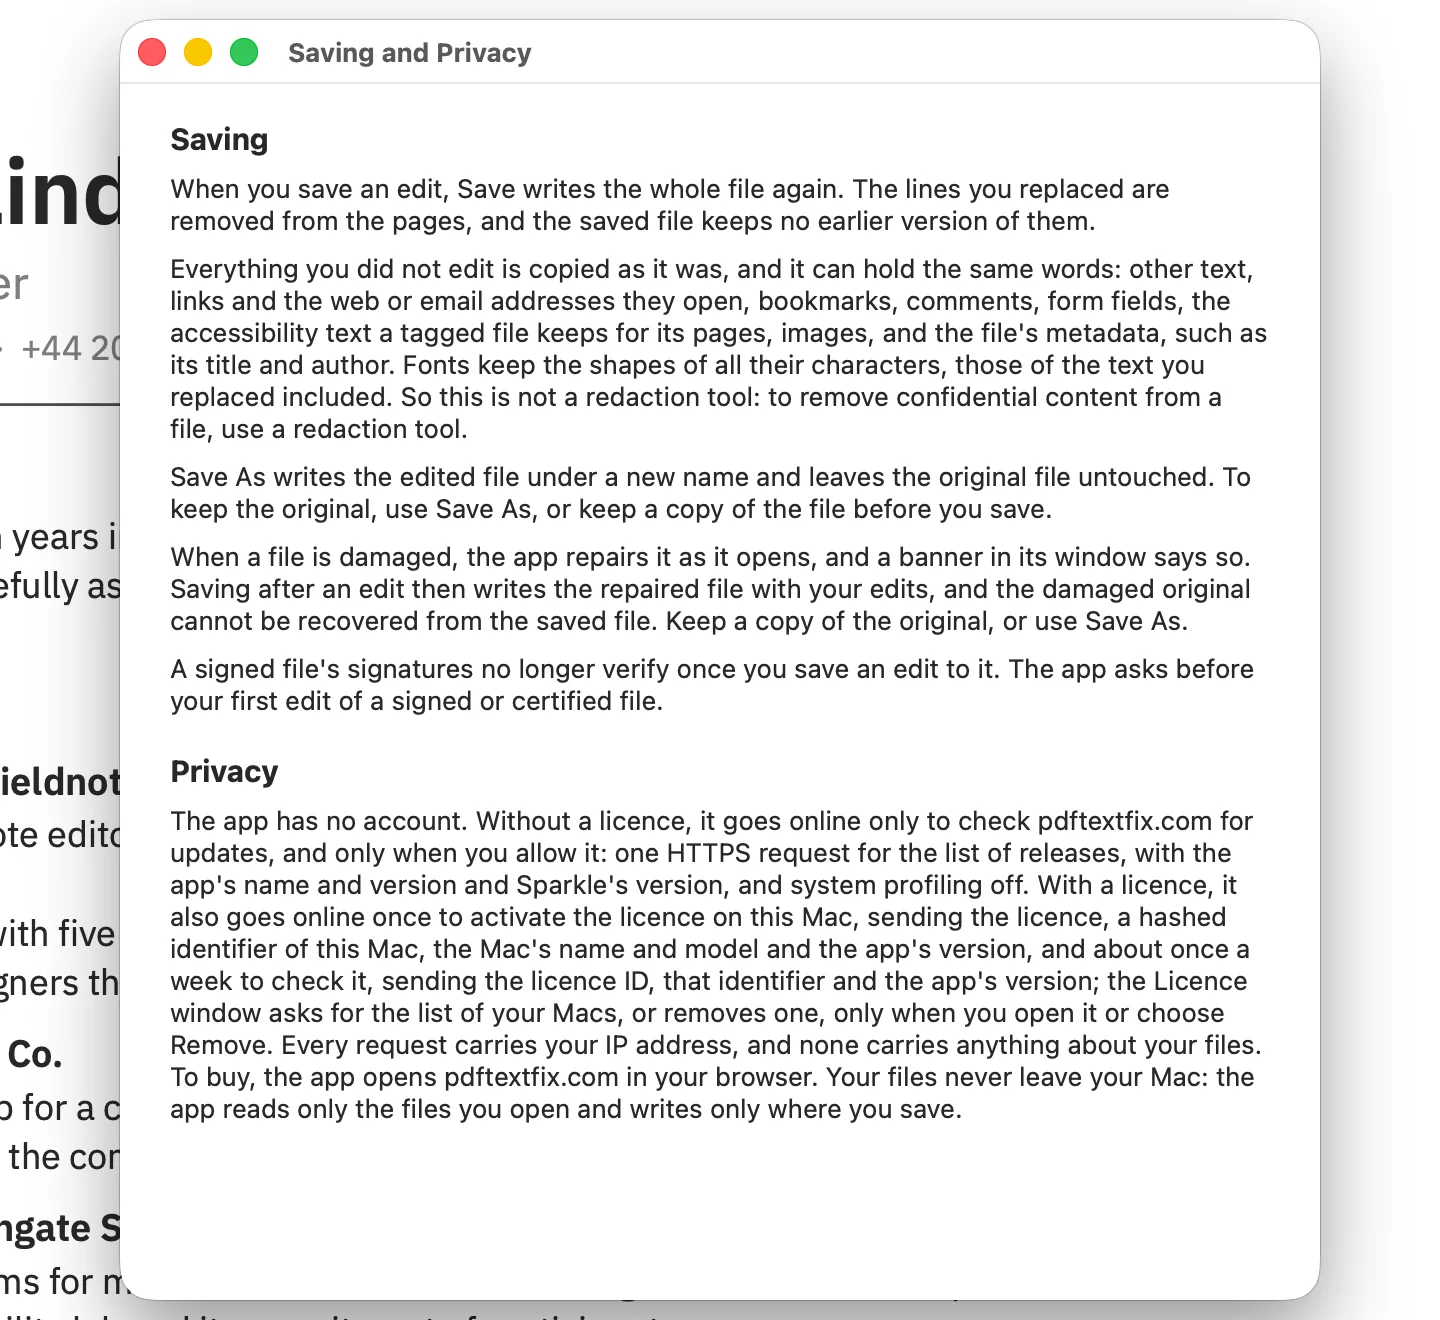
There is one case where saving with PDF Textfix removes more than the line. Some apps save by adding their changes to the end of the file, so the file still holds earlier versions of its pages. When you save an edit, PDF Textfix writes the file without them. What saving does to your PDF shows this byte by byte, and hidden text in a PDF covers the other places words hide.
Step 5: When is redaction the only right answer?
When the words must not reach the person who receives the file: personal data, account numbers, names in a document going to the other side of a dispute, anything a law or a contract says must be removed. Covering fails that test, because the words are still there. Deleting a line with PDF Textfix removes it from the page but leaves the copies listed above. Use a redaction tool, then check its result as the next step describes. When in doubt, treat the file as confidential: an unnecessary redaction costs a few minutes, while a cover that fails exposes exactly what it was meant to hide. The guide to redacting versus deleting text in a PDF goes through the differences in detail.
Step 6: How do I check what is left in the file?
Open the saved file and try to get the words back:
- Search for them. In Preview, use Find (⌘F) for a distinctive word from the removed text.
- Select across the area with the Text Selection tool and paste the result into a note.
- Look at the bookmarks and the document’s properties. Preview’s Inspector (the Info button in its toolbar) shows the document’s information, and the sidebar shows its table of contents.
- Open it in a second viewer, such as a browser, and repeat the search.
If the words come back in any of these, they are still in the file.
Questions about whiting out text in a PDF
Does a white box remove the text underneath?
No. The box is drawn on top, and the words remain in the page, where a search finds them and they can be copied out. Apple’s guide does not describe flattening as removing them either, and they usually stay; search the flattened file to check.
Can I delete a line and close the gap?
You can delete the line, but the gap stays: PDF Textfix does not move the lines below up, because it does not reflow text.
Is PDF Textfix a redaction tool?
No. It removes the replaced lines from the page and keeps no earlier version of them, but copies of the same words outside the page stay as they were. For confidential content, use a redaction tool.
Can I get the deleted line back?
Before you save, Edit > Undo (⌘Z) brings it back, and File > Revert to Saved drops every edit. After saving, the file keeps no earlier version, so keep a copy or use Save As (⇧⌘S).